Thursday, August 18, 2011

The first time hops grower


Since I jumped head first back into home brewing I decided why not grow my own hops as well.  I planted in the beginning of April after building a nice big arbor for them to climb on.  Waking up every morning I would bypass the breakfast table to go check on them in anticipation of new growth.  After a couple weeks of this  I was rewarded with sprouts coming out of 2 rhizomes, the cascade and goldings but alas the fuggles did not show any signs of life yet.  After weeks of the cascade growing like crazy and the goldings not to far behind I decided to carefully excavate the fuggles to see if it had any signs of growth.  Upon extraction I realized that I planted it to deep and it had buds sprouting from it.  Unfortunately I broke most of them during the extraction.  I replanted it in hopes of it putting out some new growth seeing that it was still early in the season.  I was rewarded by it putting out one sprout that is now 3 foot tall, I dont anticipate it growing more then halfway up the rope but am glade i did not kill it.


The cascade has now grown up and across the arbor already putting out a fair amount of hops for a first year plant.  The goldings has made it to the top but seems to be slowing down I am not expecting to get any hops this year from this one, maybe next year.  The fuggles is a slow grower it just started putting out side shoots but it is very small at only 5 foot.  The cascades should be ready to harvest in a week I am hoping to have a couple ounces after drying them.  Goto My project shop to check out more home brewing projects.

Tuesday, August 16, 2011

Creating the perfect fermentation chamber

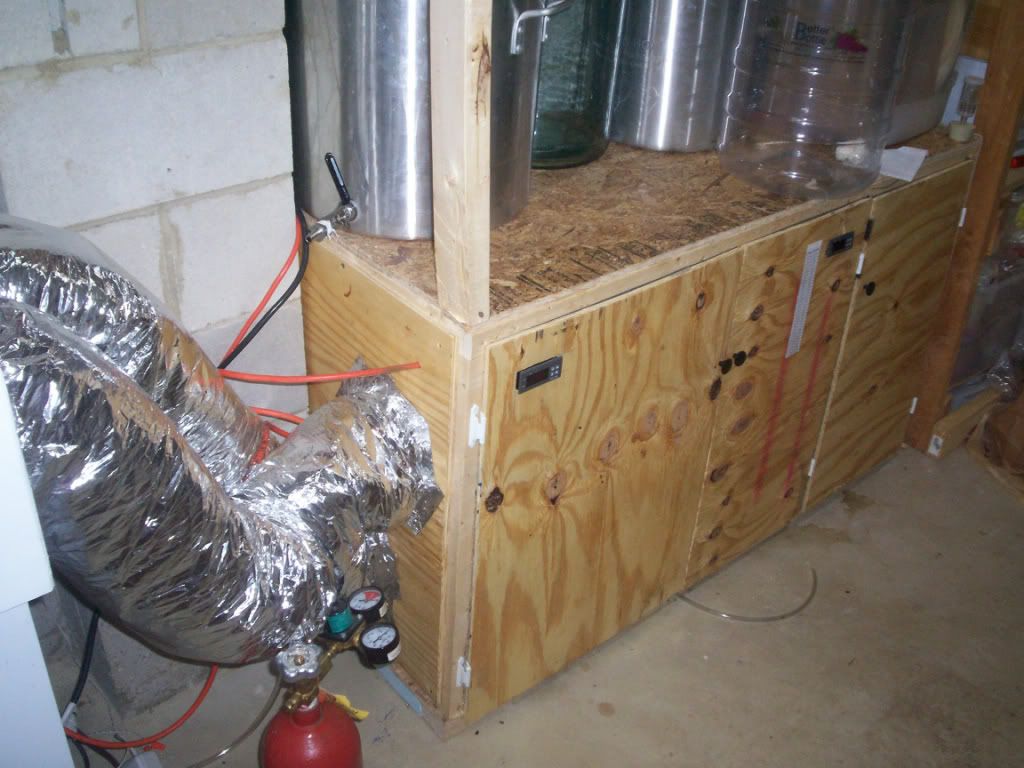
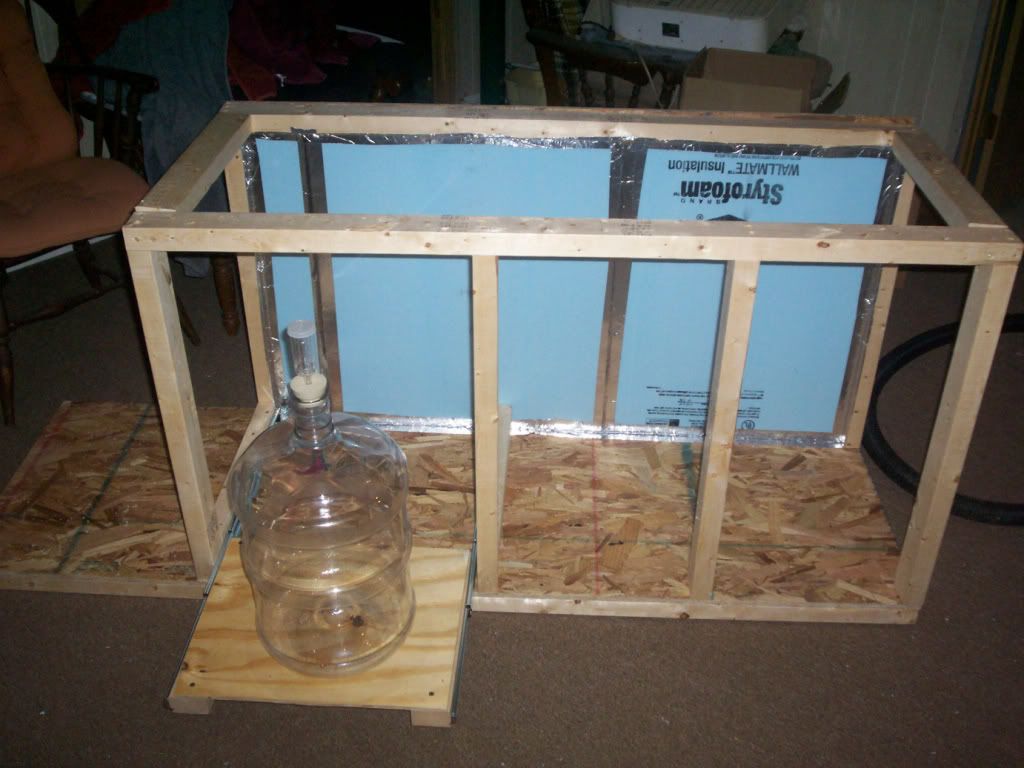
As any home brewer knows one of the most important things in the fermentation process is temperature control. After making several brews that didn't come out the greatest I decided to start researching and designing a fermentation chamber to fit in a basement storage room.  My final design was to make it into 2 individual chambers, one large enough for 1 6 gallon carboy and the other large enough to fit 2 6 gallon carboys in.  I added slide out shelves for easy access to the fermenters.


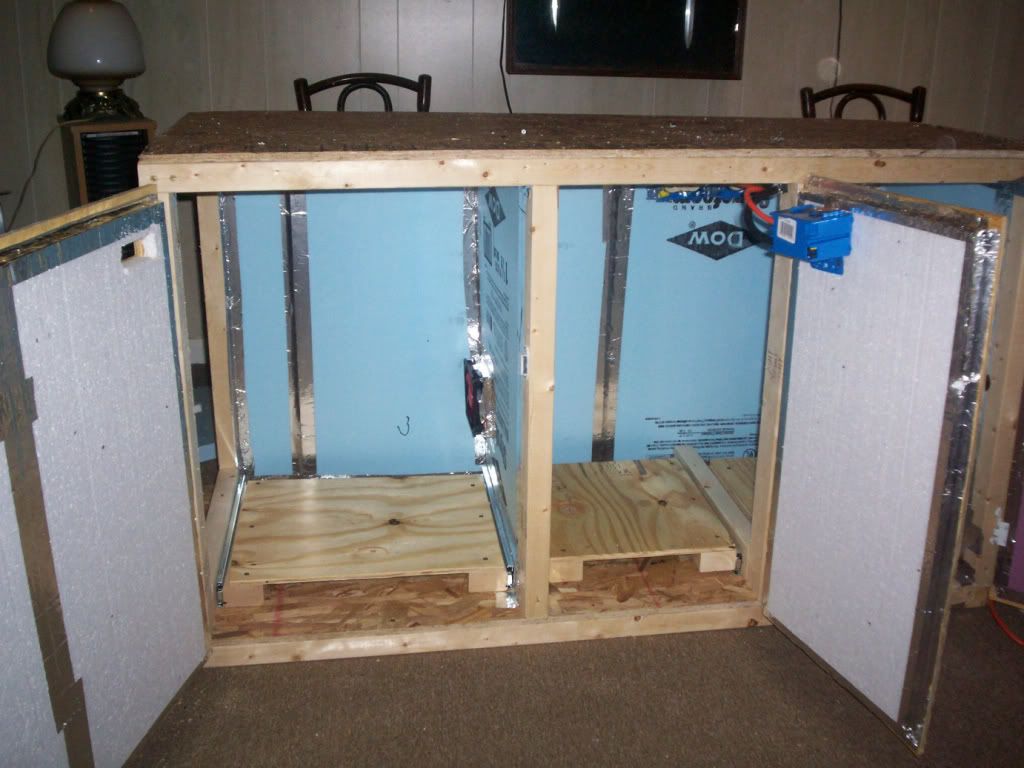
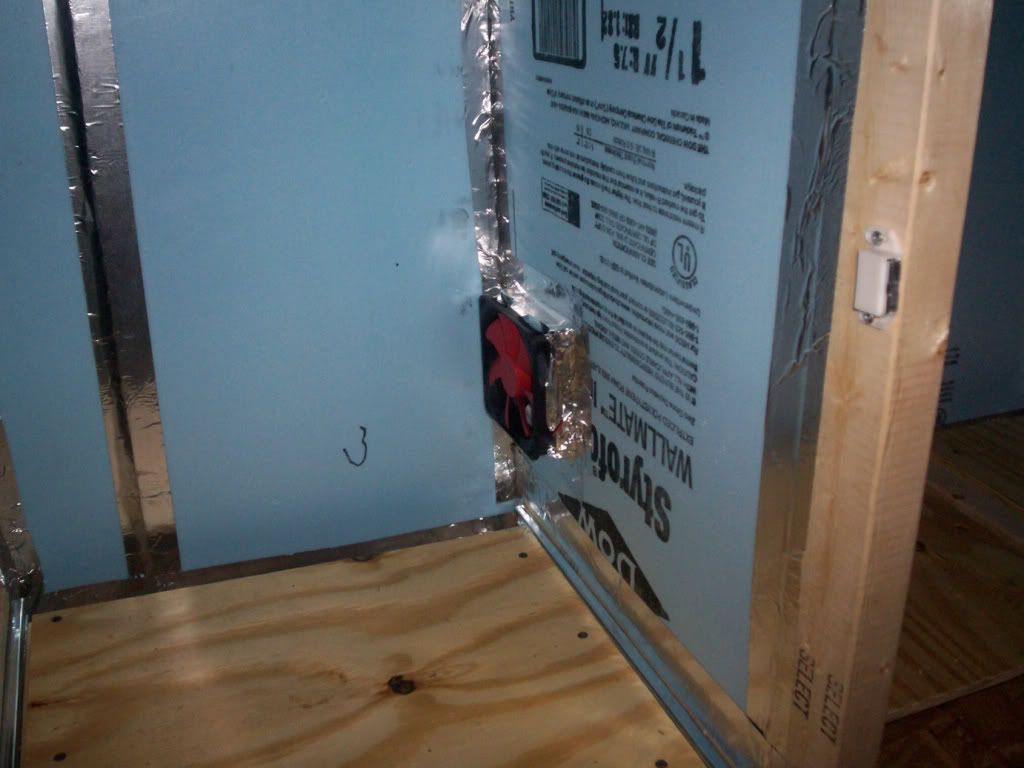
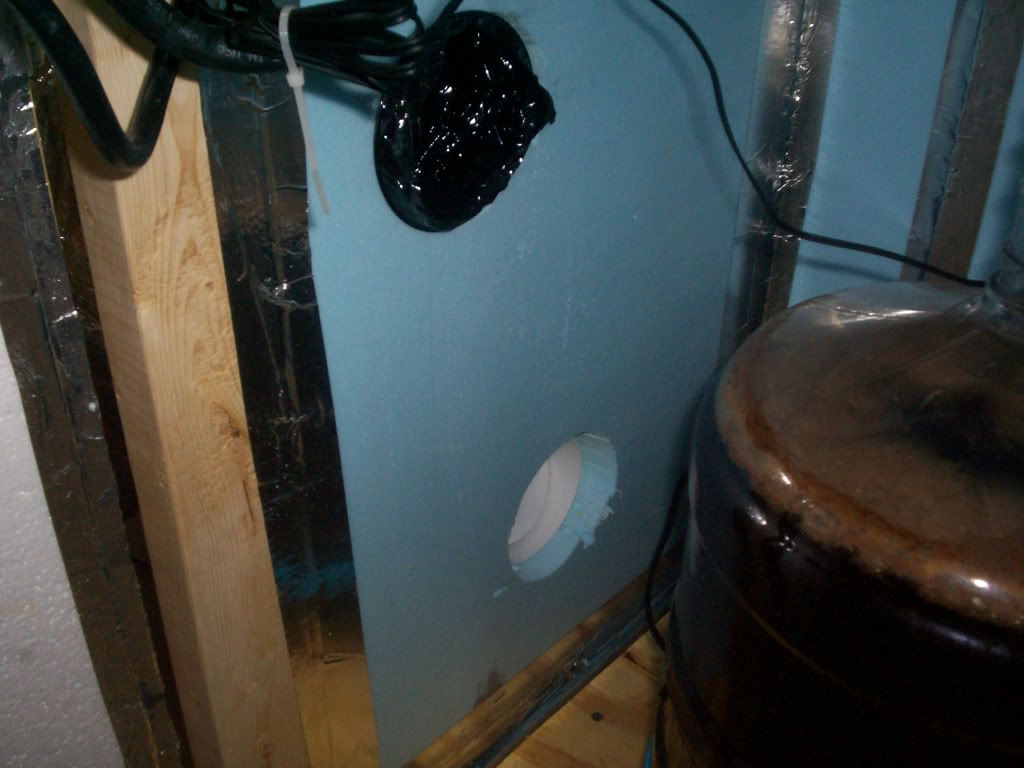
Each chamber is controlled by its own temperature control that can heat or cool the chamber to maintain a constant temperature inside.  The STC-1000 temperature controllers where purchased off of ebay for a reasonable price.  The temperature controller for the first chamber controls a 4" inline exhaust that is linked between the fermentation chamber and my kezzer to pull cold air in, and a return to exhaust the air inside back to the kezzer.  The heating is provided by a brewers belt.  The second chamber gets its cold air by a computer fan controlled by the second temperature controller,  the heat is provided by a reptile heating cable spread under the slide out drawers.


Over the past months I have brewed several ales with great results in this, but the big test was recently when I brewed my first lager.  I was able to maintain 52F in the first chamber for the primary fermentation of the lager without any problems.  In my book that was a great success and the improvement in my beer is very noticeable. Visit My project shop for more DIY projects.